Permission in sharing a Visme design involves permission, sharing files, and timing of tasks. It is
this section of the guide that takes you through all the collaboration and sharing options available.
Free Visme Tutorials/Download PDF and FlipBooks
Publishing Your Project and Distribute Visme design
● Open your project in Visme and start using this platform.
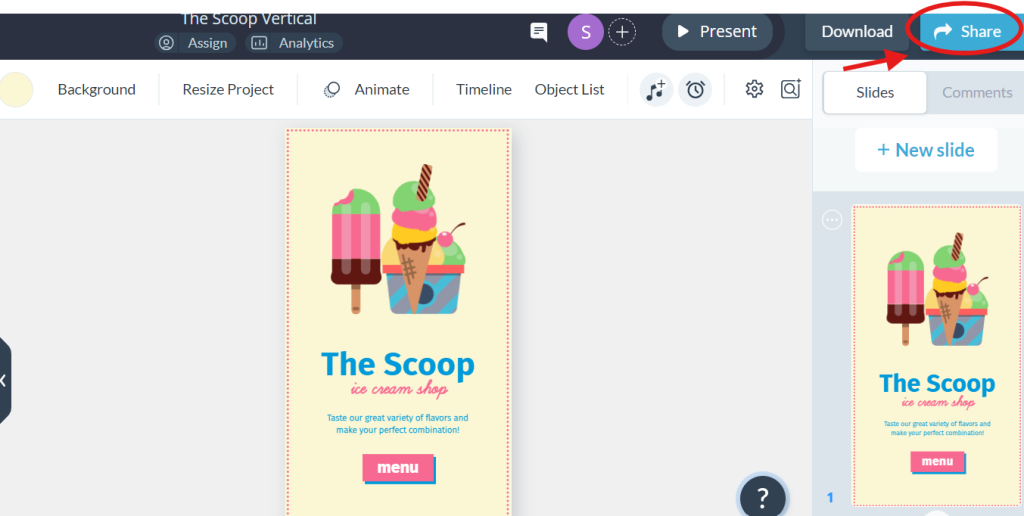
● From the head menu bar, go to the top right-hand side of the screen and click on ‘Share’.
● Go to Share Online Page: This section contains the following options: title, description, and
share options.
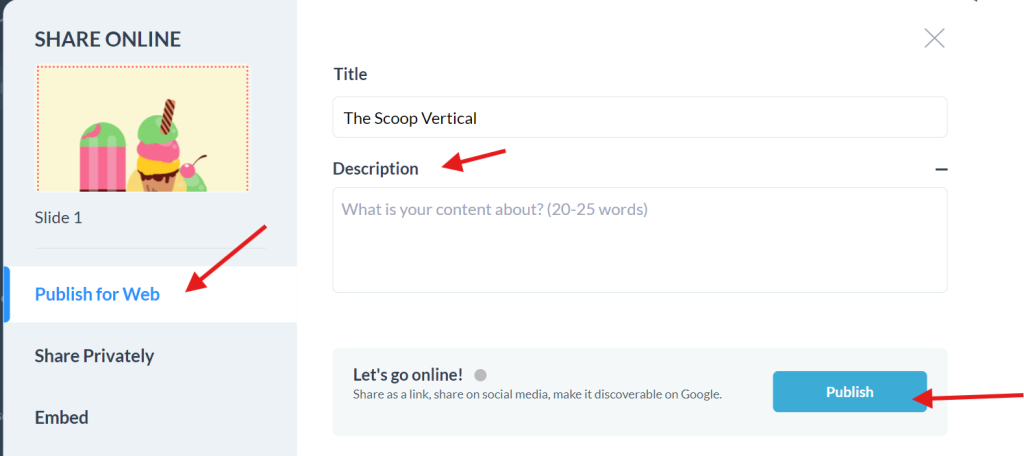
● Publish Your Project: You press the Share button to publish the material.
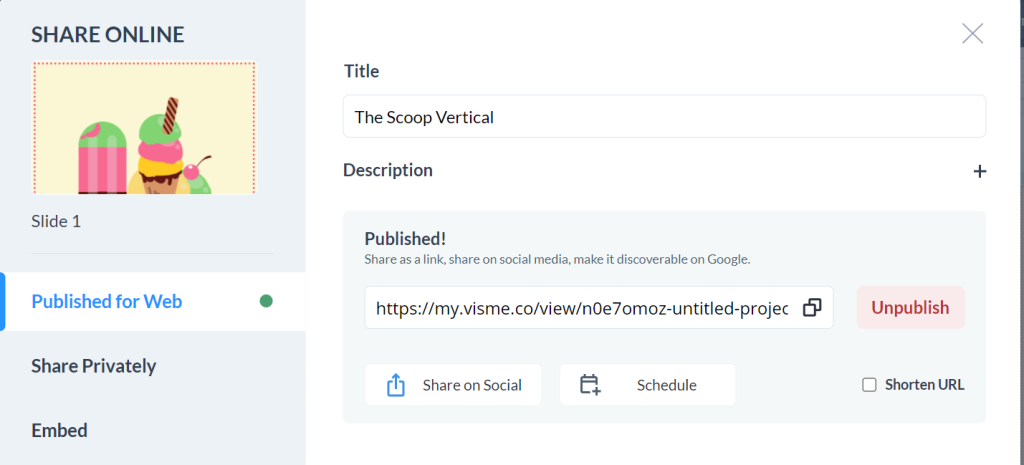
● Copy or Share Link: Once it is published, just copy the link or paste it directly to any of the
social media platforms.
Sharing Privately
● Access Share Privately: Moving from the Share Online page, you will get to the ‘Share
Privately’ page.
● Set Privacy Settings: Restricted to Specific People: Share with people using email address
entry. Their privileges are assignable and can be set as Can view, Can post a comment, or
Can edit.

● Anyone with the link: Make the project visible to anyone who has the link for the project.
(Optional) Enable password by changing the ‘Add Password’ ON button and then input your
password.
● Permissions: Allow the comment section to remain anonymous for feedback from the users
of the digital product.
● Shorten URL: Turn on/off the Shorten URL button to hide it, which looks more professional.
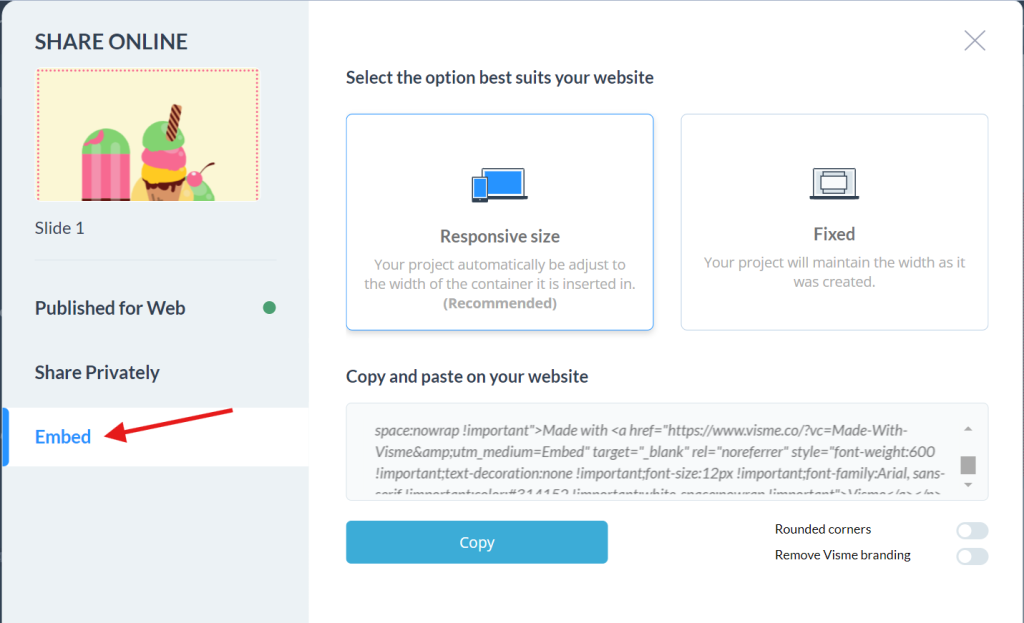
● Embed Your Project: Afterwards, click the Embed option in order to obtain an HTML code to
embed the project on a website or on the blog. Place the following pieces of code into your
website’s HTML code as it is.
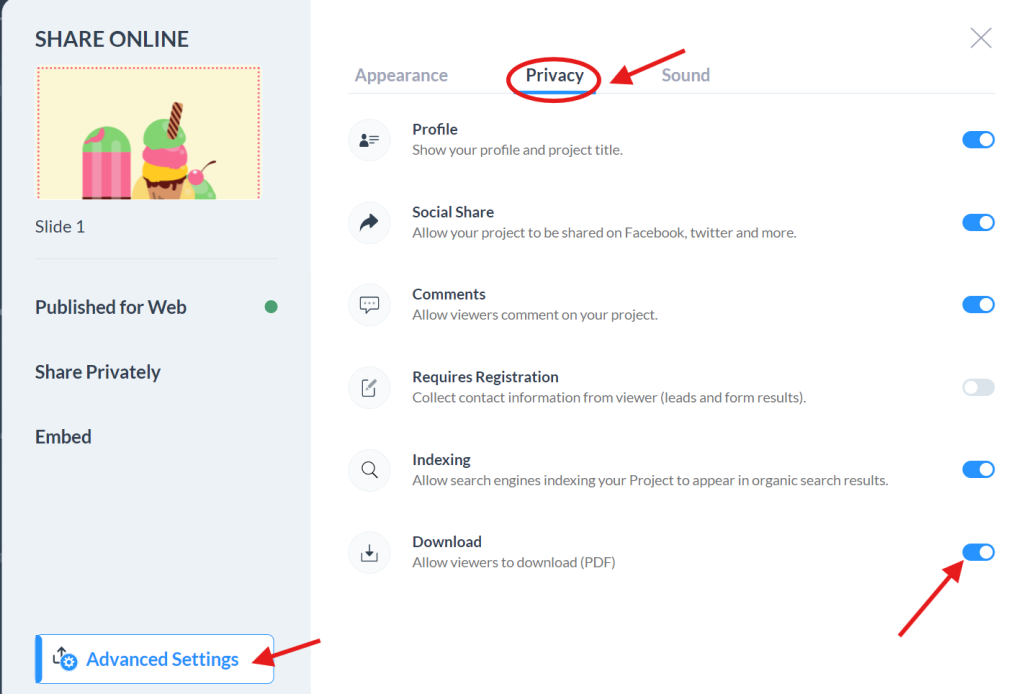
● Allow Downloads: For the premium users, make the downloads ON by navigating to the
Advanced Settings of the content and selecting ‘Download—Allow viewers to download
(PDF).’
● Click on ‘Share’.
● Select on the ‘Advanced settings’ below. And navigate to the ‘Privacy’ tab.
● Turn on the ‘Download’ icon.
Setting Permissions
● Go to the ‘Dashboard,’ right-click on the project you want to share, and click ‘Share’ in the
dropdown menu of context options.
● This is to create users or add a new user and then assign the user privileges or user roles.
● In the sharing window, add users via email and set permissions.

● Can View: Enables the users to view the project.
Can Comment: Enables users to make remarks.
Can Edit: Allows the user to alter aspects of the project (for team members).
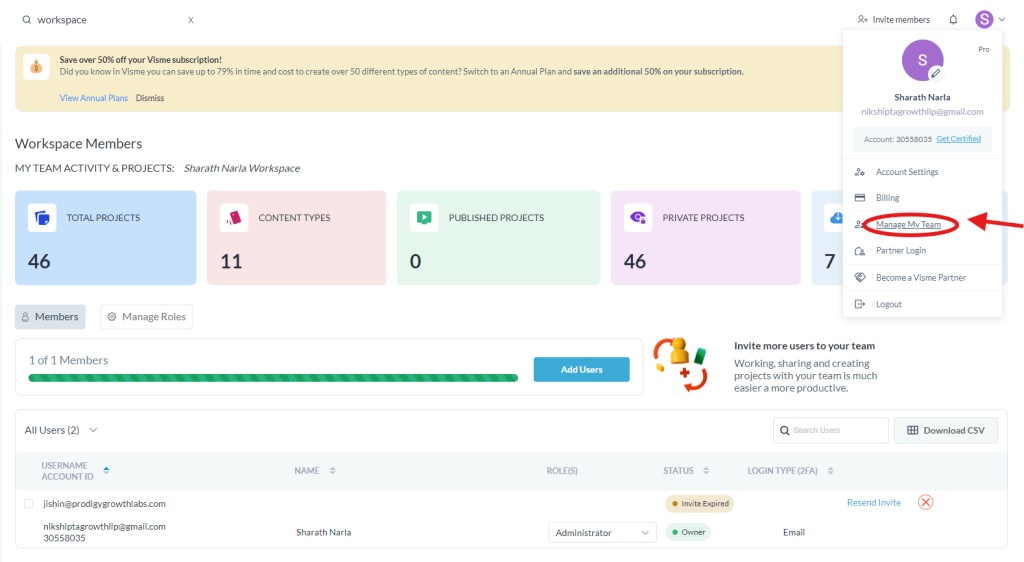
● Make available to limited predefined user groups (e.g., ‘Sales Manager’). User roles and
groups can be managed by the administrators through the ‘Manage My Team’ option.
● Set sharing parameters
Choose from:
● Anyone with the link: It can be accessed by anybody who has the link.
Only People on My Team: Permitted only for the users who are involved in the particular
project.
Limited to Particular Persons: In a way that it can only be granted to those that have been
given special permission.
● From the Share Project window, adjust permissions or delete user’s rights as appropriate.
● When they accord you permission, press ‘Copy Link’ to get the shareable link.


