Free Visme Tutorials/Download PDF and FlipBooks
How to use theme colors?
Having an option to use and edit theme colors in Visme makes designing very professional and a
unified visual appealing look. Since theme colors are reusable, it enables you to apply specific styles
of color on different projects to have a uniform style and look of the branding system. In this tutorial,
we will show how you can create, apply, and manage theme color in Visme.
Change colors using ‘Styles’
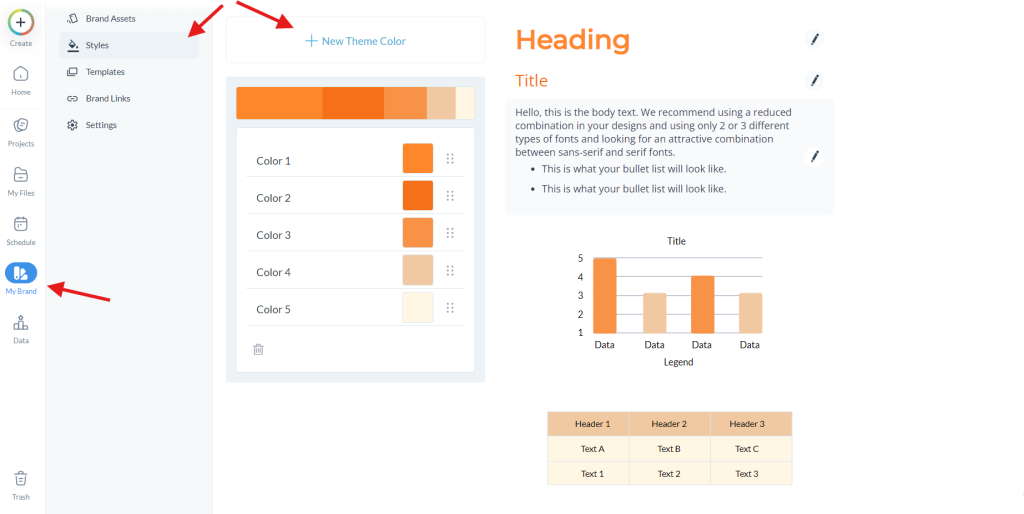
● Navigate to your dashboard and click on ‘My Brand’, which is located on the left sidebar.
● In the ‘My Brand’ menu, select ‘Styles’. This is where you find other theme colors that you
have previously created and an indication of how they appear on the various objects, such as
headings, titles, and even graphics.
● Create New Theme Color.
● To create custom theme colors, click on any of the color icons to make modifications to
colors.

● Select a color from the color wheel.
● Move the gradient slider.
● Adjust the opacity.
● Enter a custom hex value.
● To add a new color you have chosen, click on the ‘+ New Theme Color’ button and add the
color to the swatches list.

To change colors, check the ‘Brand Assets’
● Colors can be added through the ‘Brand Assets’ section, where you have to click on the ‘Plus’
button. Choose a color or type in a hex code for the color you want to use.
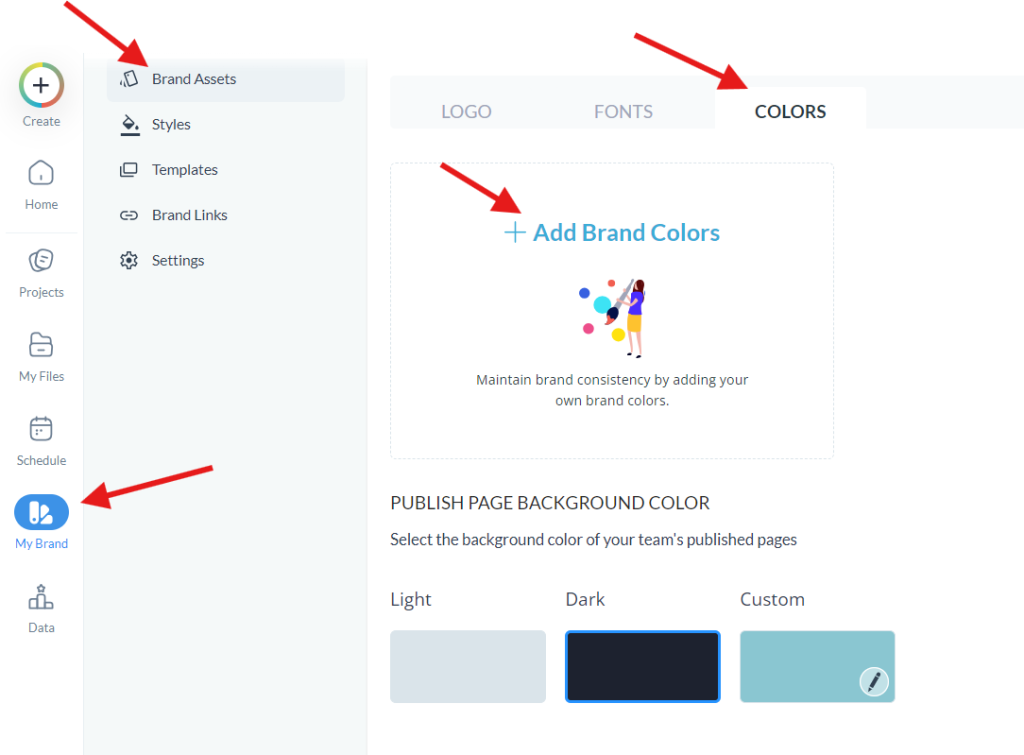
● Once you have selected the color, click on ‘Create Theme Color’ to save your selection.

● It is also possible to make an additional group of colors by clicking ‘+ ADD COLORS’.
● It is possible to set any of the selected swatches as primary and secondary by simply clicking
the checkmark option and renaming the swatches if required.
Applying Theme Colors in Your Project
● Navigate to your dashboard and click on the project on which you wish to set your theme
colors.
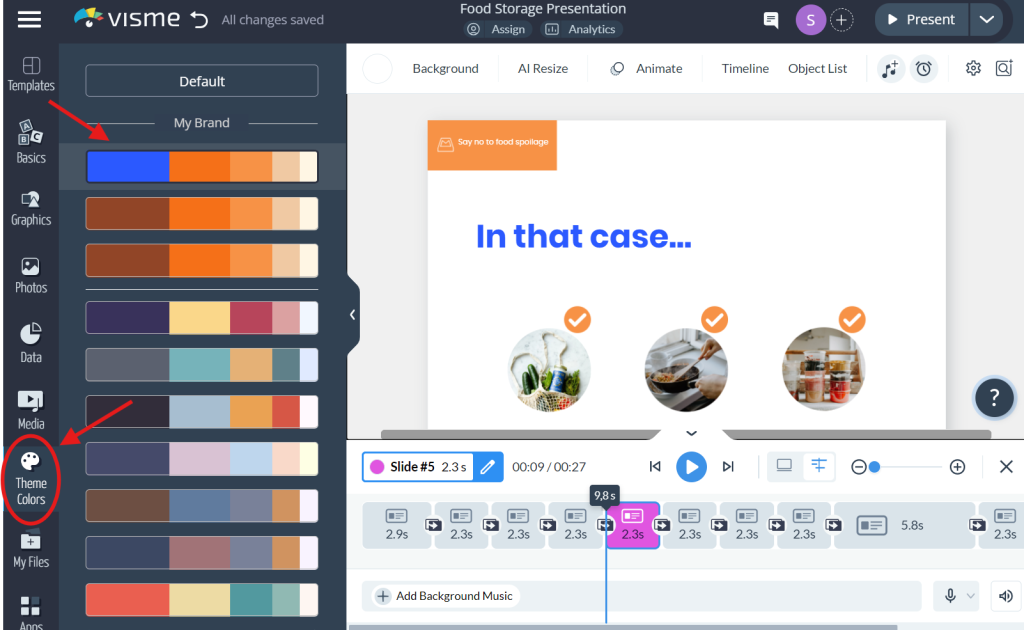
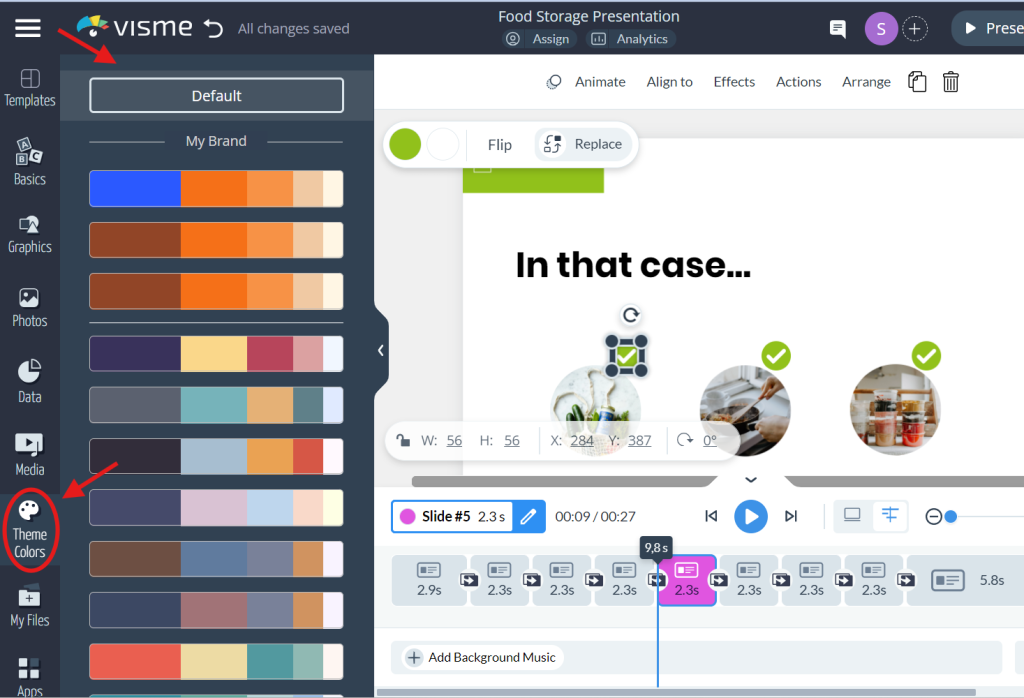
● In the editor’s window, go to the left sidebar and choose ‘Theme Colors’. The default color
palette of the template will be shown at the top, while your brand-selected color palettes will
be displayed below.
● Select a theme color, and all objects and texts related to the project change their color
accordingly to the selected color.
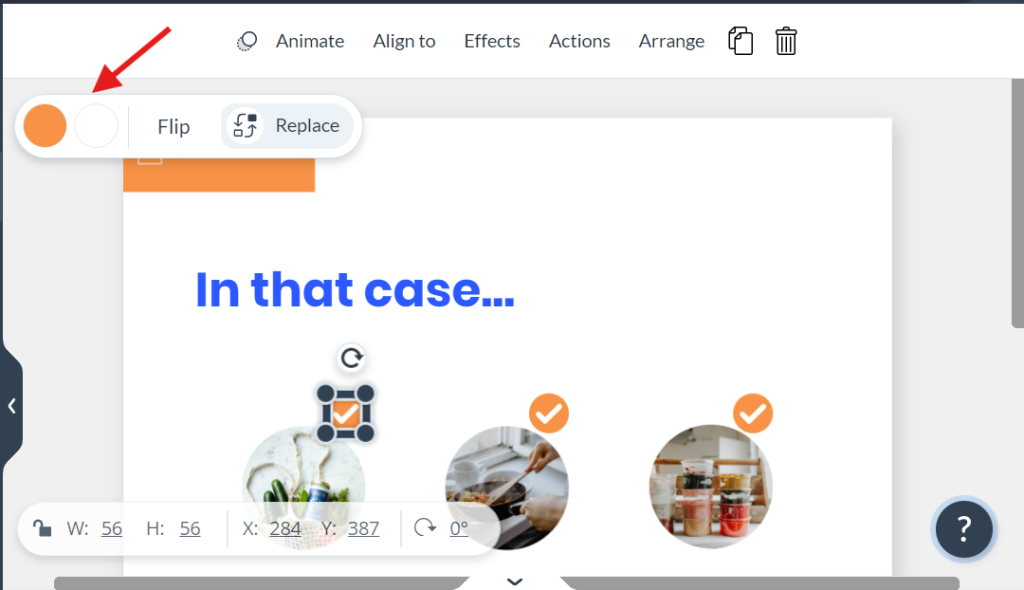
● If an object doesn’t meet your color preference, click an object and click the color tile in the
top left corner. The menu will display frequently used colors, generic colors, and theme
colors.
● In case you wish to revert back the colors to default, click on ‘Theme Colors’ in the left side
bar and click on ‘Default’.
Additional Color Customization Options
● For more color settings, click on any object, and a color box will appear at the top left. Right-
click on the color that you would like to change, and from the drop-down menu that appears,
choose colors. You can select a new color from either the color picker or from the hex code.

● In the Presets tab, it is possible to choose 50 elegant color schemes. The usage of these is
quite simple; you just have to choose the desired color preset and then apply it to the project.
You can also save the color codes set by you in the current color palette for the next time you
work on the template.
Color Dropper Tool
● Use the ‘Color Dropper’ tool to take colors instantly from any object or an image.
● You can compare your colors and add them to your palette for future use when designing to
ensure that your projects are consistent.


