Free Visme Tutorials/Download PDF and FlipBooks
Visual Content Projects – Presentation
What is Presentation? How do we make use of it?
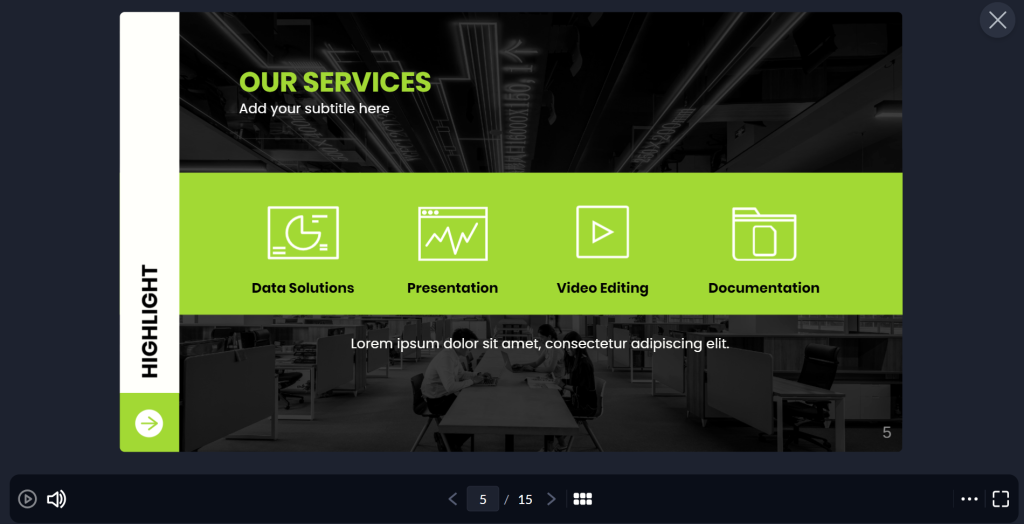
A presentation can be described as a visual that is intended to convey information, concepts, or
messages to an intended group of people. It normally consists of a sequence of slides that contain
text, images, charts, videos, and any other elements that can be placed on a slide to make it
interesting. They are incorporated frequently during business meetings, educational forums, in the
market, and during conferences to show ideas, practices, and for communication. They are the best
tools through which an audience can be led in understanding a narrative or data, depending on their
complexity.
As for Visme, you can tailor the presentation and use it for business-oriented presentations,
including global corporate presentations, educational presentations, and more. If you take
templates, design elements, and multimedia integrations into consideration, you can produce eye-
popping presentations.
How to Create a Presentation in Visme?
Visme is quite easy to use, so even inexperienced users, as well as experienced ones, will be able to
create a presentation with its help. The first step to creating a presentation is to sign in to the Visme
account.
● On your dashboard, under the presentations tab, you will find several different templates to
choose from.
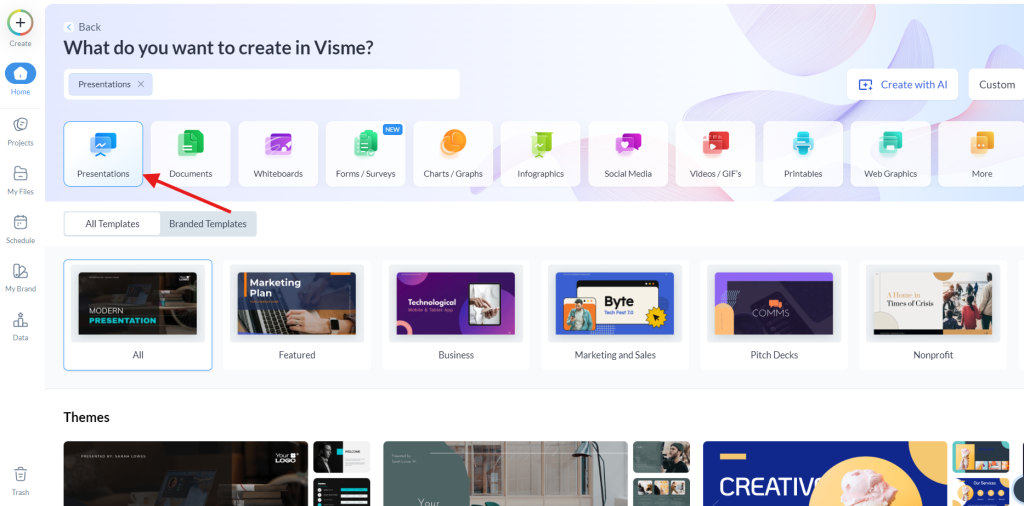
● Select a theme of your preference, and you get the format of designs to match it.
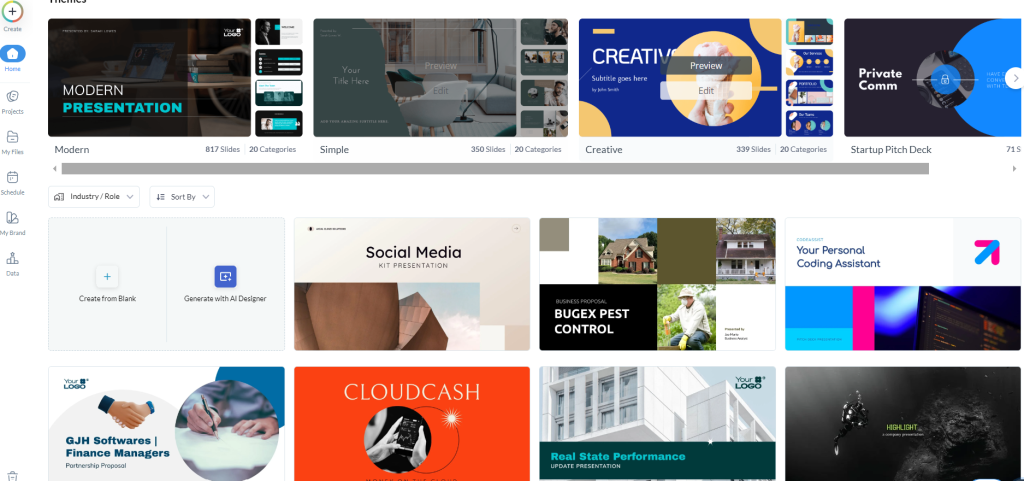
● You have various templates under headings such as featured, business, marketing and sales,
pitch decks, nonprofits, education, finance, interactive, products, keynote, research,
webinar, SWOT analysis, creative, informational, training, and sports.

● You can make use of the industry and filter options to pick your presentation templates. By
selecting from the drop-down, you tend to get templates that are related to your work,
which eventually reduces your work and makes it easy.
● Insert figures 17 & 18.
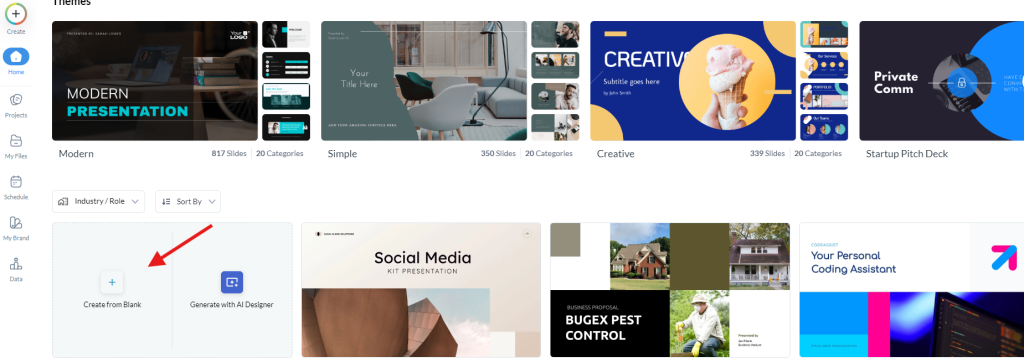
● You can also select the blank page and design it as you wish.
● To select the size of the project, go to the dashboard and click on the ‘Custom’ option on the
top right side.
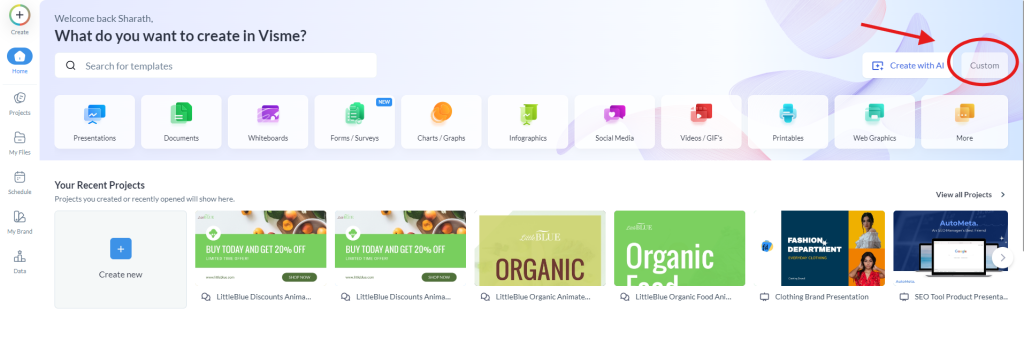
● You can select from the options given according to your preference of the output you need
for your project and click on ‘Create’.
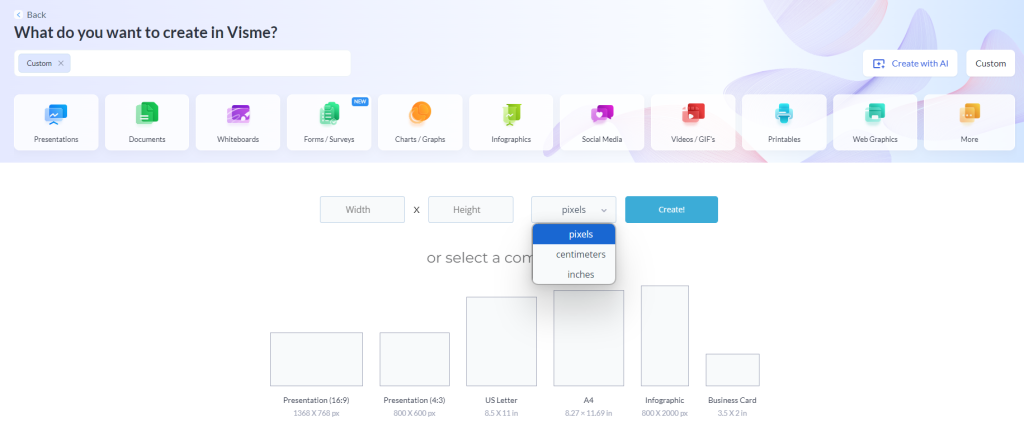
● After selecting the size, you will have a blank page in the size you have chosen.
● After choosing a template or being on the blank page, one can insert or customize content
into the various segments of the PowerPoint slide in the form of text, images, icons, charts,
and even multimedia such as videos and sounds. To know more, refer to the topics 8.3, 8.4,
8.5, 8.6, and 8.7.
● Once you have your content in place, you can then modify the order of your slides by
clicking the slides that are shown on the right side of the panel and dragging them to the
place.
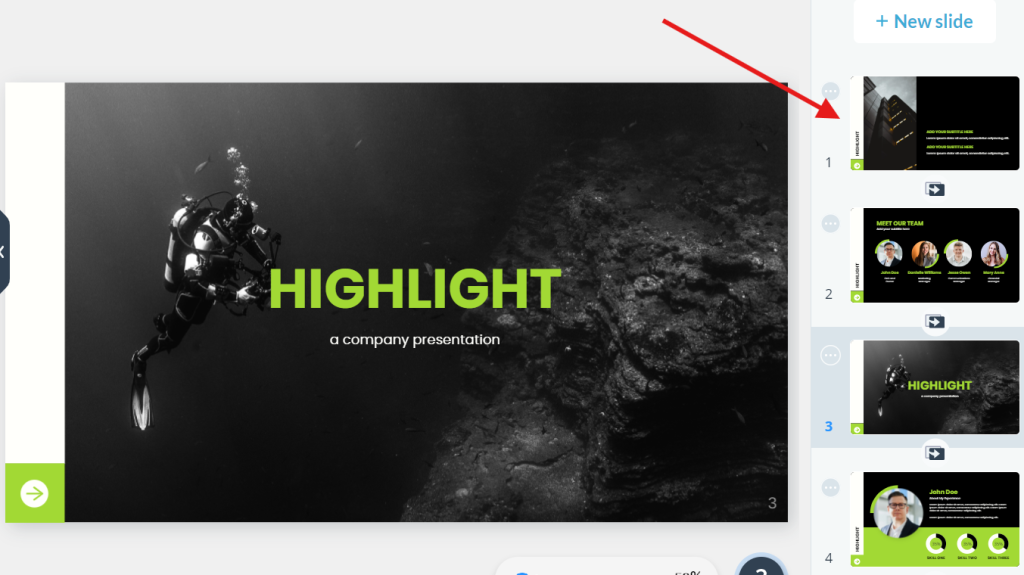
● Apply transitions that happen between the slides and even build clickable links, animations,
or data visualizations.
● The platform also enables the uploading of own material as logos, or brand fonts, to be used
in all presentations to make them more uniform.
● Using Visme, there is no need to bring in other software since the program has inherent
features, such as the graph maker and infographic widgets.
● Once you’re done with your presentations, you can publish them on the web, download the
presentation as a file, or present directly from the Visme platform.


